 ForgeVPS
Work with your VPS
From AI-built app to live URL.
Deploy an app built with Claude Code or Codex CLI on a VPS. Follow a working Node.js example through GitHub deployment, environment variables, and HTTPS.
An app made with Claude Code or Codex CLI deploys like any other app: it needs a repeatable build, a production start command, and a place to run. This walkthrough takes a small Node.js app from your project folder to a GitHub deployment on a VPS, then adds a domain.
Use hosted ForgeVPS with a connected machine and its deployment tools set up. GitHub deployments are currently unavailable in the self-hosted preview; its Dev Servers workflow is separate. You also need a GitHub account and Node.js 22.9 or later for this example. Your own app may require a different runtime.
1. Start with a small app you can verify
If you need to set up your assistant first, follow the Claude Code or Codex CLI walkthrough. Open a project folder and give either assistant a specific brief:
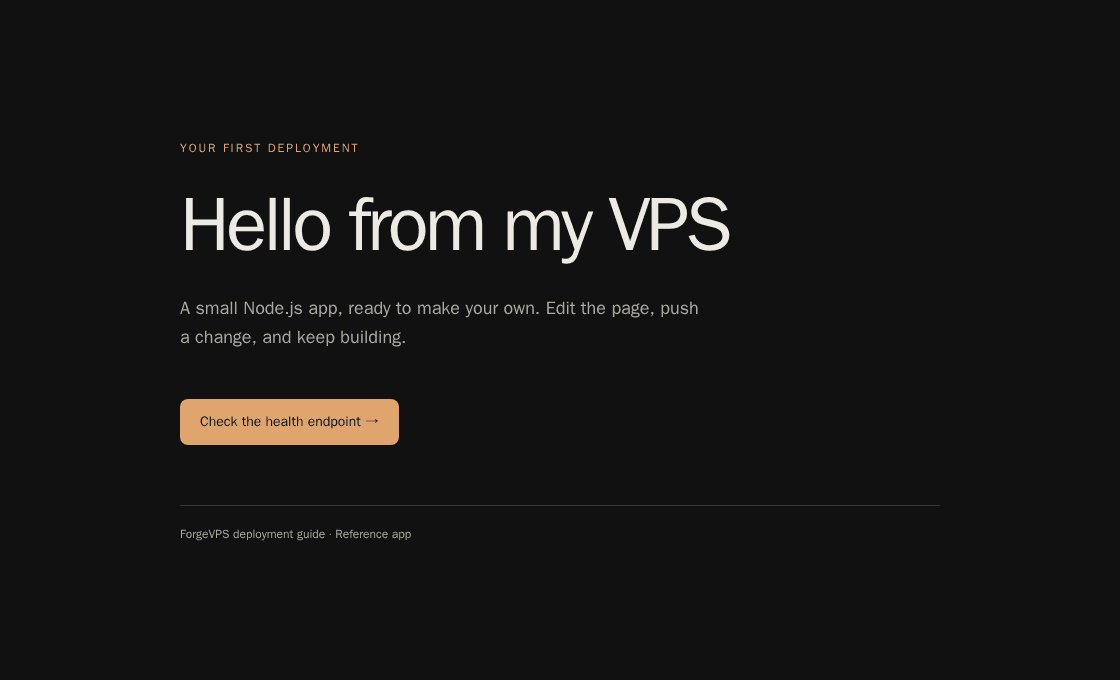
Create a small Node.js app with no external dependencies. Serve a welcome page at / and JSON with status: ok at /health. Read the port from process.env.PORT, defaulting to 3000, and listen on 0.0.0.0. Include npm build and start scripts, a package lock, and a .gitignore that excludes .env files. Explain how to run it. Do not deploy it or add credentials.
Review the generated files in ForgeVPS's Files editor. You can create, edit, and save files there. Check the scripts in package.json, the listening port, and any unexpected services or dependencies before running the app.
To follow along with a fixed example, download the complete reference app. Extract it on your computer, then use Files to create a project folder and upload its files, including .gitignore. This is a small reference implementation; an assistant's output will vary.
2. Check the build and start commands
Open Terminal in that project directory. For the reference app, run:
node --version
npm ci
npm run build
npm start
The app logs its listening port. In another terminal session on the same machine, run curl http://127.0.0.1:3000/health. Expect {"status":"ok"}. If 3000 is already occupied, start the example with PORT=3100 npm start and check 3100 instead. Stop this test process with Ctrl+C when finished.
In this example, the build script checks JavaScript syntax; a framework app usually has a real compilation step. Keep your framework's production commands. npm ci requires a committed lockfile that matches package.json.
3. Put the project in GitHub
Create an empty GitHub repository. For a new folder that is not already a Git repository, run these commands from the project directory. Replace YOUR-ACCOUNT with your GitHub account:
git init -b main
git add package.json package-lock.json server.mjs index.html .gitignore
git commit -m "Add deployable app"
git remote add origin https://github.com/YOUR-ACCOUNT/vps-hello.git
git push -u origin main
GitHub will require authentication. If your app already has a repository, commit and push your reviewed changes there instead. Keep passwords, API keys, and .env files out of Git. Files edited directly in a deployed release can disappear on the next deployment; commit lasting changes to the source repository.
4. Connect and deploy
- Open your machine in ForgeVPS, then Servers → Connect a repo.
- Connect GitHub if prompted and grant access to this repository. If it is missing from the list, check the GitHub app's repository access.
- Select the repository and
mainbranch, and give the app a name such asvps-hello. - For the reference app, set Install command to
npm ci, Build command tonpm run build, and Start command tonpm start. - Leave Port blank to use the assigned port, then choose Connect & deploy.
Open Deployments to follow the install and build. After startup, check Logs for the running process. The app must read the assigned PORT; forcing every app onto 3000 creates conflicts. If a step fails, use the deployment troubleshooting guide.
5. Add configuration and a domain
To customize the reference app, open the app's Env tab, add GREETING=Hello from my first deployment, save, and redeploy. ForgeVPS links this configuration into each release as .env. Your app must load it: the example's start script uses Node's optional environment-file flag. Other frameworks have their own rules. Leave PORT under ForgeVPS's control.
In Domains, add a hostname you own, such as hello.example.com. At your DNS provider, create an A record pointing that hostname to the VPS's public IPv4 address. Use Check DNS in the domain dialog and confirm that it resolves to the machine.
Make ports 80 and 443 reachable through the machine and provider firewalls. ForgeVPS configures Caddy to route the domain to the app; Caddy manages HTTPS certificates once the domain and network are ready.
6. Verify the public result
Visit https://hello.example.com, using your actual hostname. Check the greeting, then open /health and confirm the JSON response. A successful build alone does not verify the public URL, authentication, or database features in a larger app.
Make one small edit in the source project, commit it, and push to the connected branch. Watch the new deployment and confirm the change on the public page. You now have a repeatable path from Claude Code or Codex changes to a running app. When you add another project, follow running multiple apps on one VPS.